Posted 25th October 2023. Updated 2nd November 2023.
Flashing
Using the application Raspberry Pi Imager, I flashed a 256GB MicroSD Card with the Raspberry Pi
operating system, and added to it the ability to remote in through SSH. The vulnerability
scanner of
choice (Tenable
Nessus)
is designed for the Raspberry Pi 32-bit operating system.

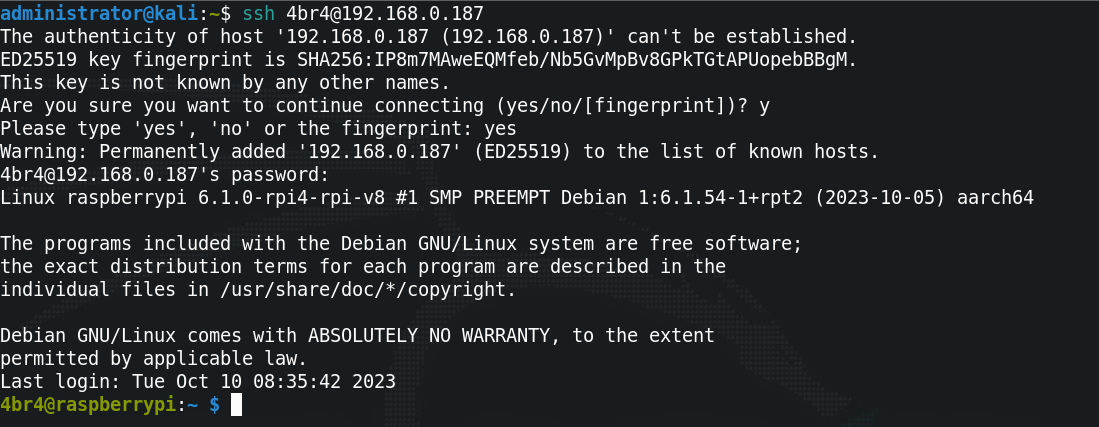
Connecting
After powering up the Pi, I connected to it using SSH and ran
sudo apt update && sudo apt upgrade to
ensure everything was up to date. After that, because I don't have a screen connected, I also
installed 'tightvncserver' (sudo apt install tightvncserver), as this will allow me to
connect and
get a GUI.
Secure Copy
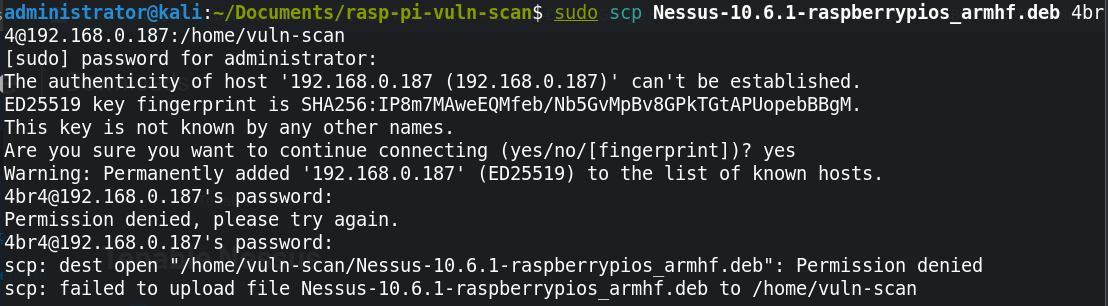
After downloading Nessus onto my main machine and attempting to secure copy (scp) the
download over
to the Pi, the secure copy kept failing. I assume this is because of permissions in the folder I was
trying to copy it over to (/home/vuln-scan/ in this case). I decided to just use the
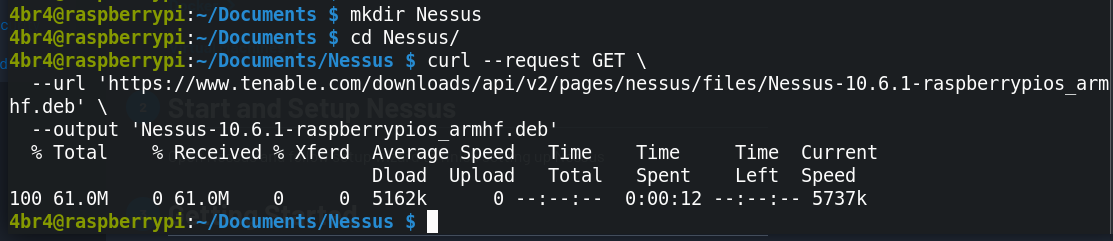
curl command
from a directory on the Pi device itself listed on the Tenable Nessus page instead.
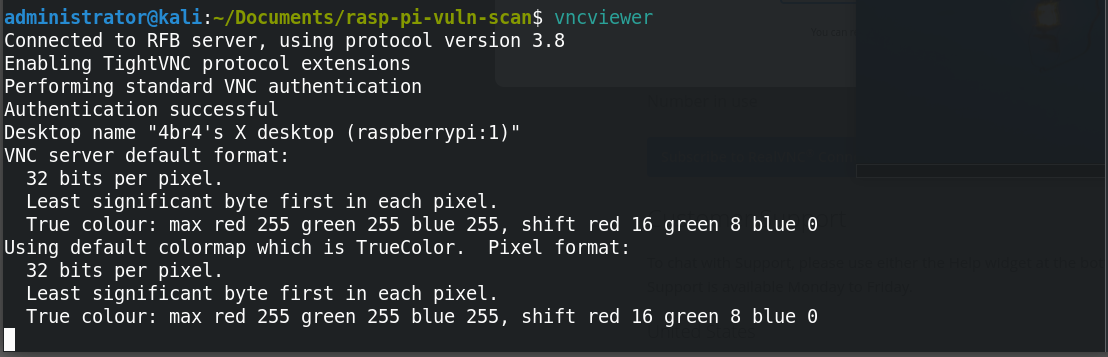
GUI Engoodening
Connecting to the Pi using vncviewer was a breeze, just fire up vncserver on the Pi and
provide a
password to use when connecting. Following that, I connected to the Pi from the main machine using
vncviewer, which then shows up in a small window to input the IP address and
port number (usual ipaddress:port fashion) to
connect with, and also the password that was set up previously.
Nessus
Installing
Now that the GUI is up and running and Nessus downloaded, I need to actually install Nessus on the
Pi. This was done
using dpkg -i <Nessus-file-name-here>.deb. It went off without a hitch.

Starting The Nessus Service
Next up, the Nessus service needs to be running in order to utilise the tool (who would have
thought?). This is done with /bin/systemctl start nessusd.service. After running this,
I entered the password to allow it to run.
Signing Up
In order to use Nessus, you need to hand over some details. I went with the Essentials option, and
allowed Nessus to download intialise itself.
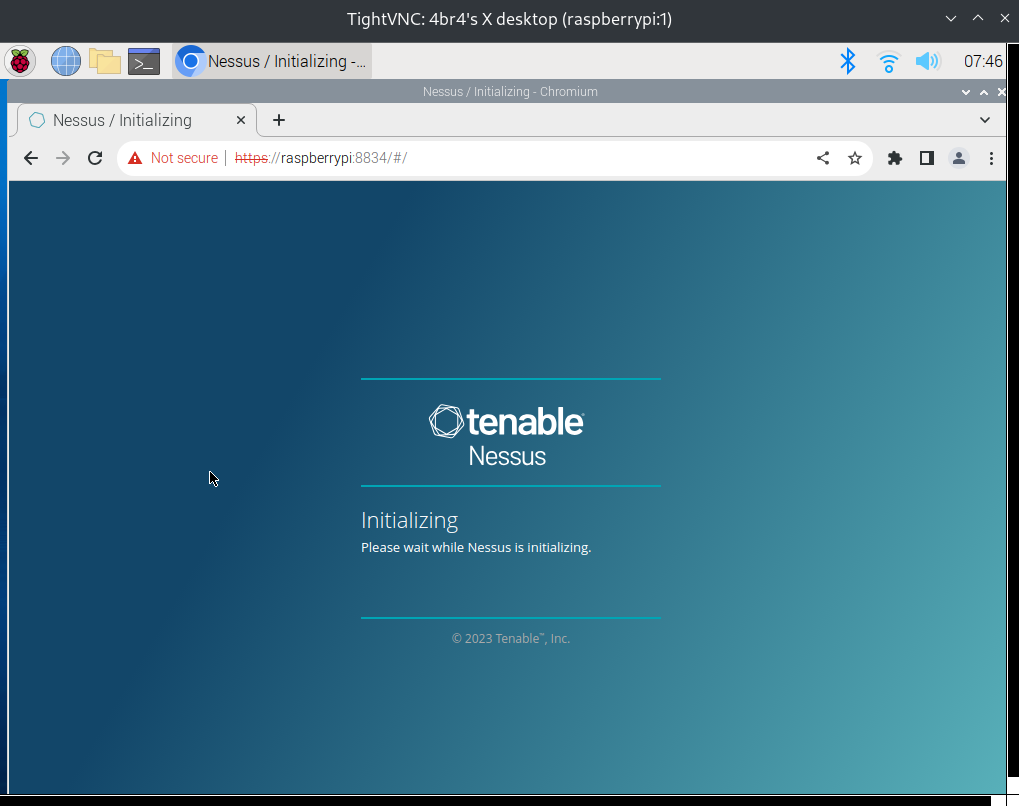
Initialising
Nessus requires further downloading of plugins to scan for various services or application
vulnerabilities. With the Raspberry Pi 4, and a connection speed of approximately 13MB/s, this
process took roughly 40 minutes. Ensure you don't have your Raspberry Pi connected to a laptop
without the charger, in the event you decide to go do something else while you wait and the laptop
dies.
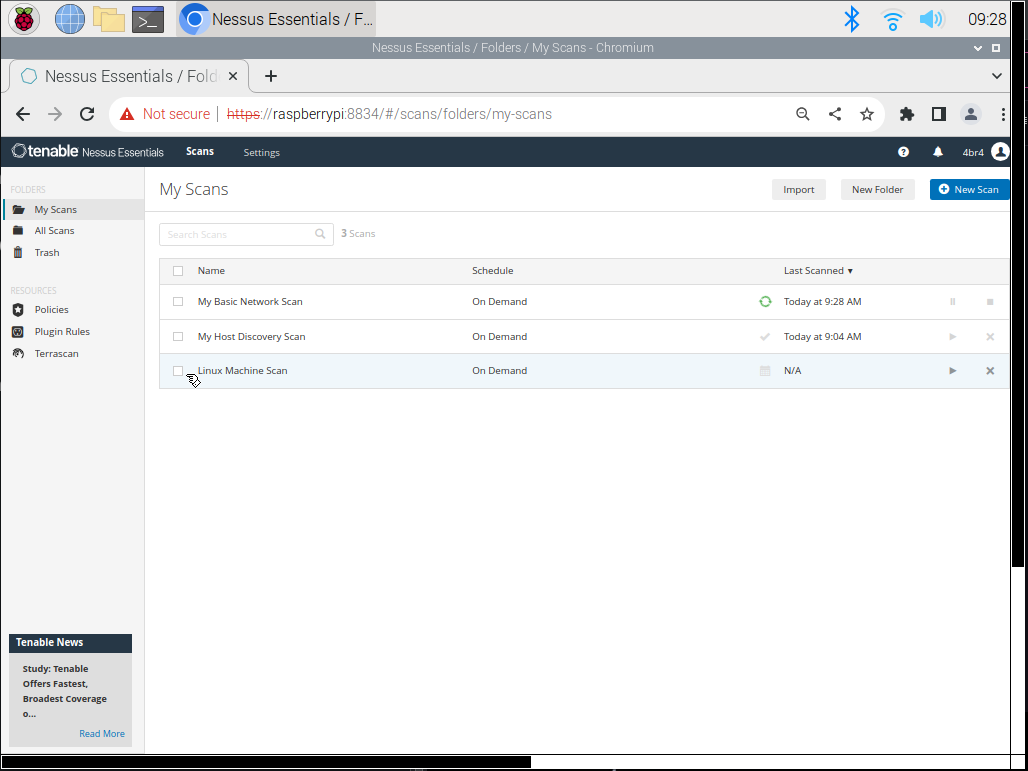
Scanning
Once all the plugins have been downloaded and installed, you will receive a pop-up to do a basic scan
on your first target by entering an IP address (or a list of IP addresses, if you wish). I chose to
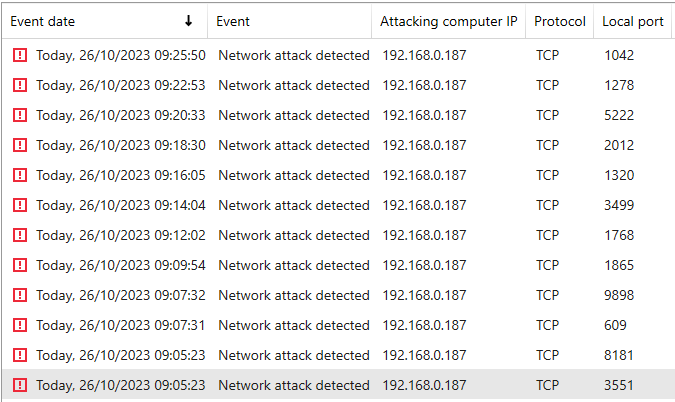
scan my Windows PC. Nessus prompted my anti-virus to ping a few times, which was cool to see notify
me live - confirmation that the thing I pay for works, I suppose.
The basic scan took 34 minutes to complete, and it only found informational items, which is
simultaneously expected and also a relief. Next up, I'll scan my Linux machine to see what happens
with that. There's no anti-virus on that machine and I'm an intermediate user of Linux at best, so
it will be interesting to see what pops up.
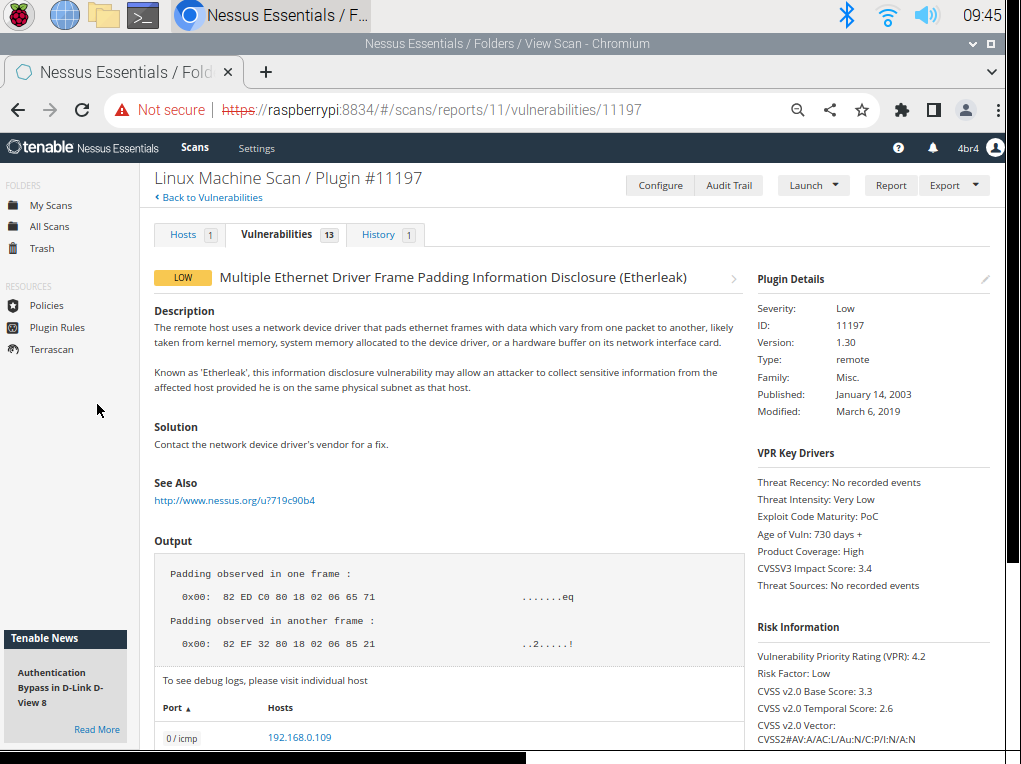
Nice! Looks like I need to update a driver, assuming the update exists. A simple process on Windows,
but I will need to check out how to do that for the machine I've got.
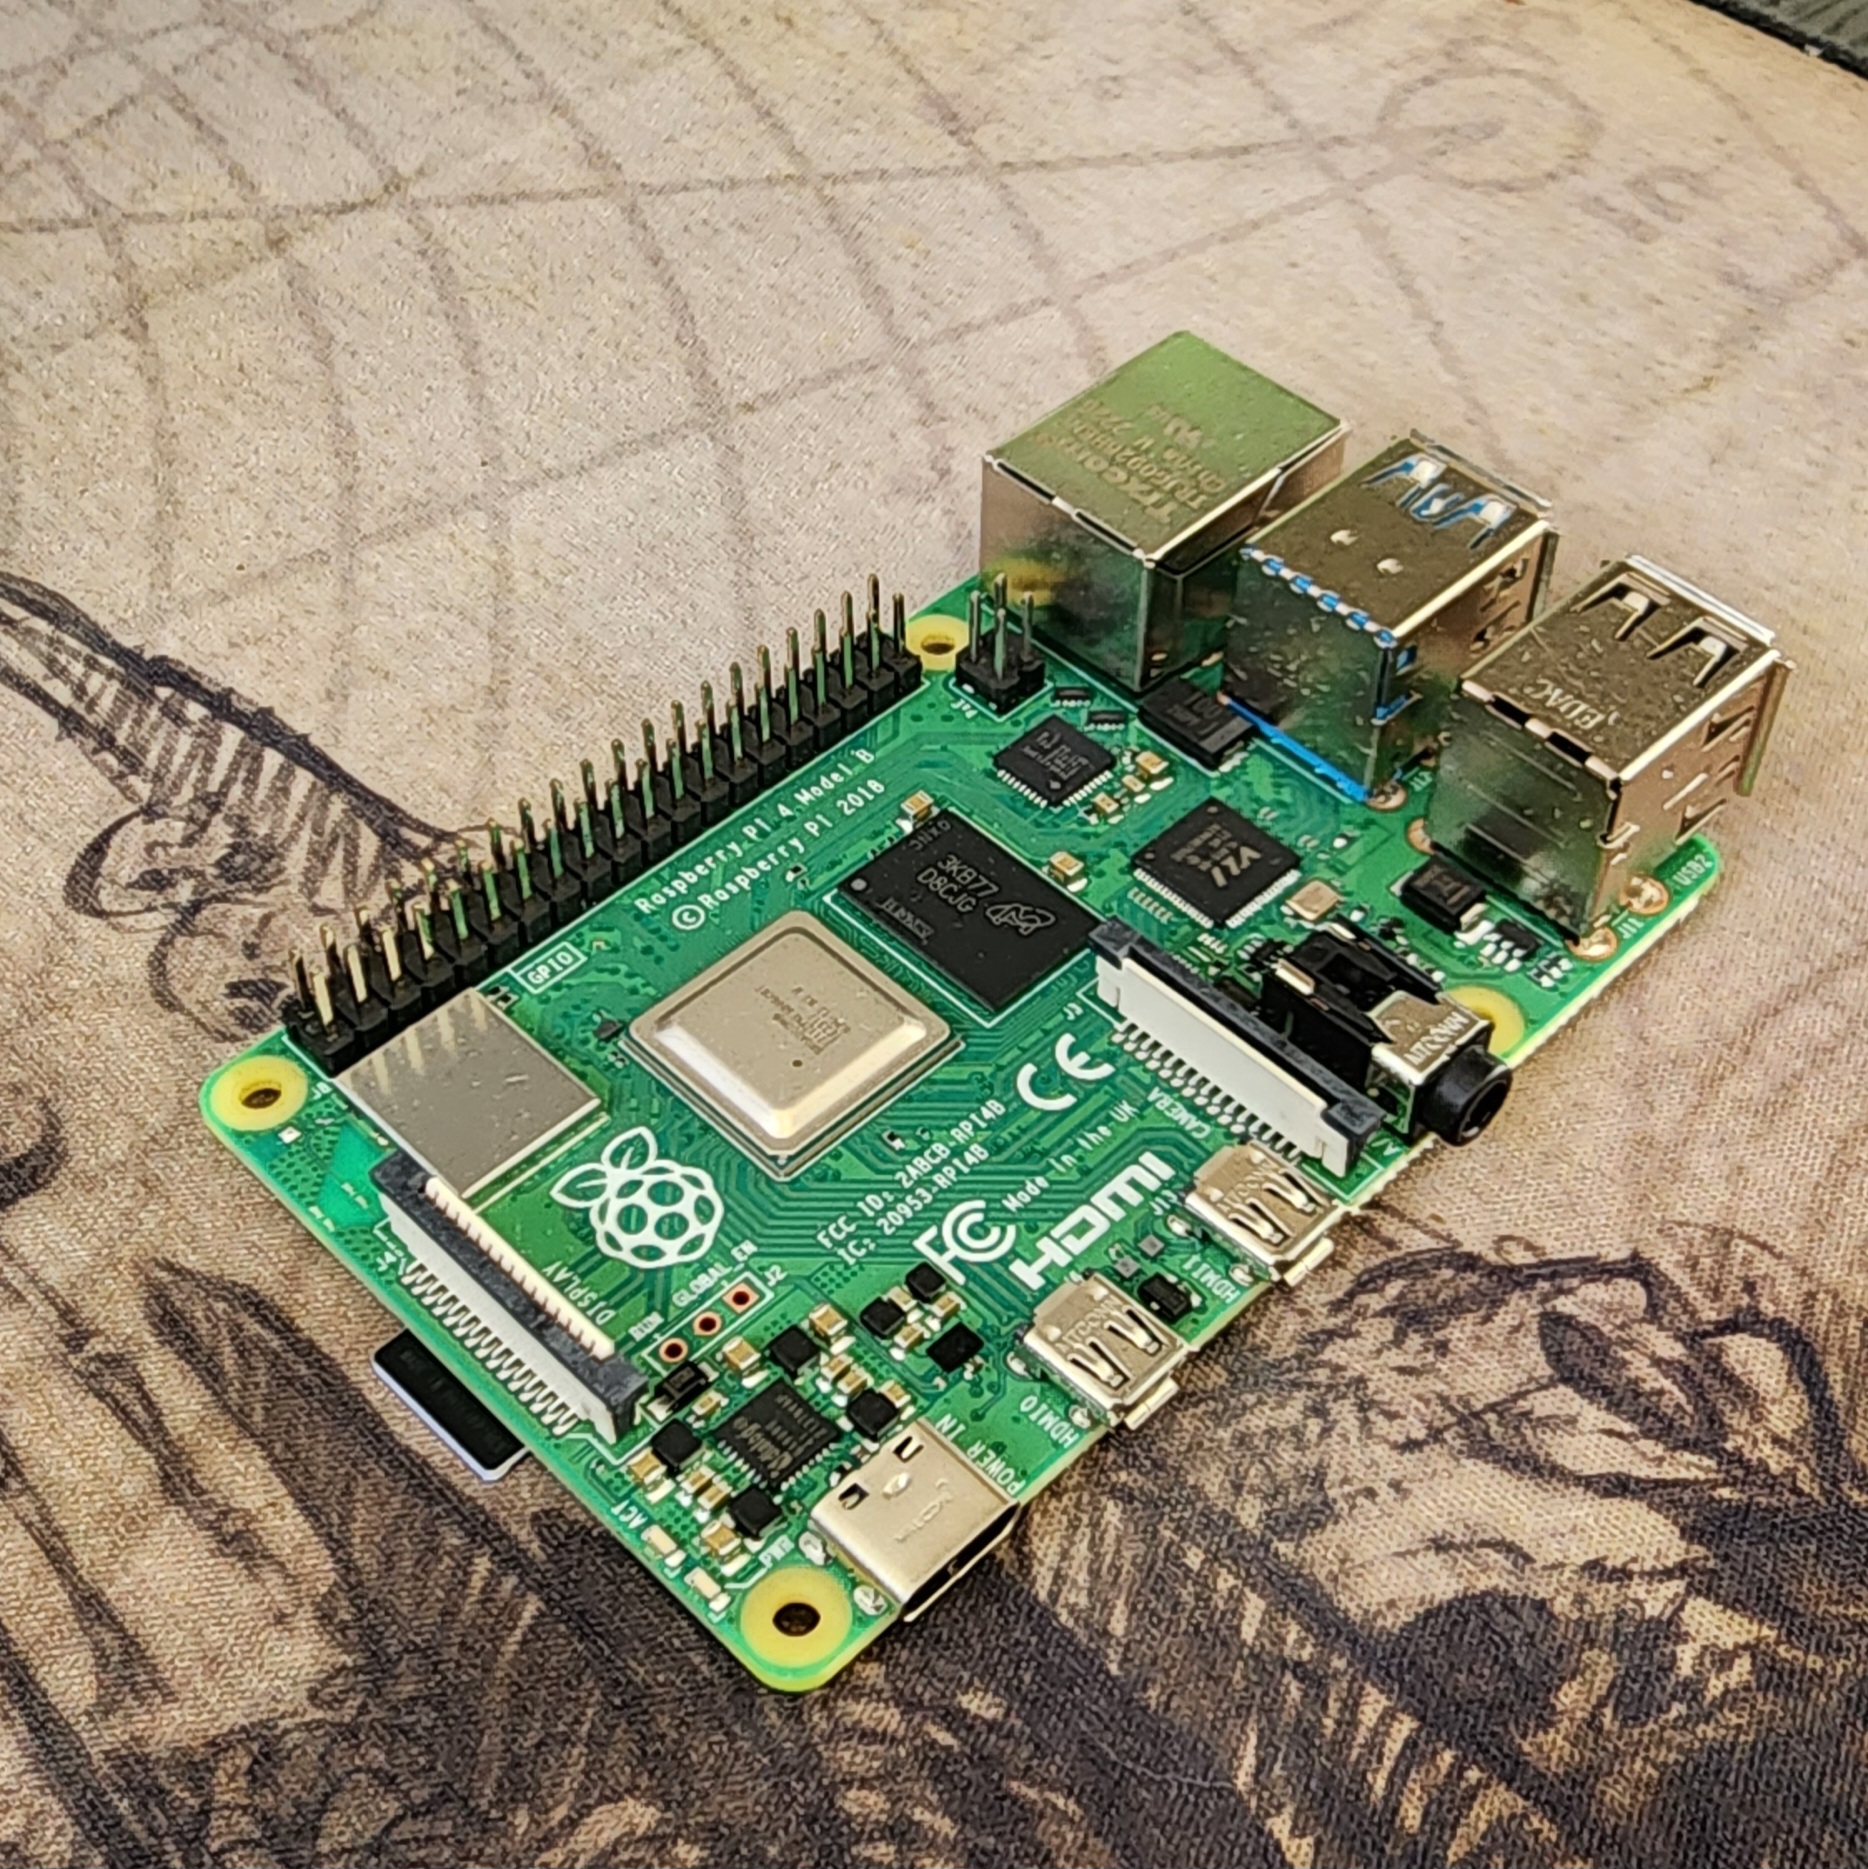
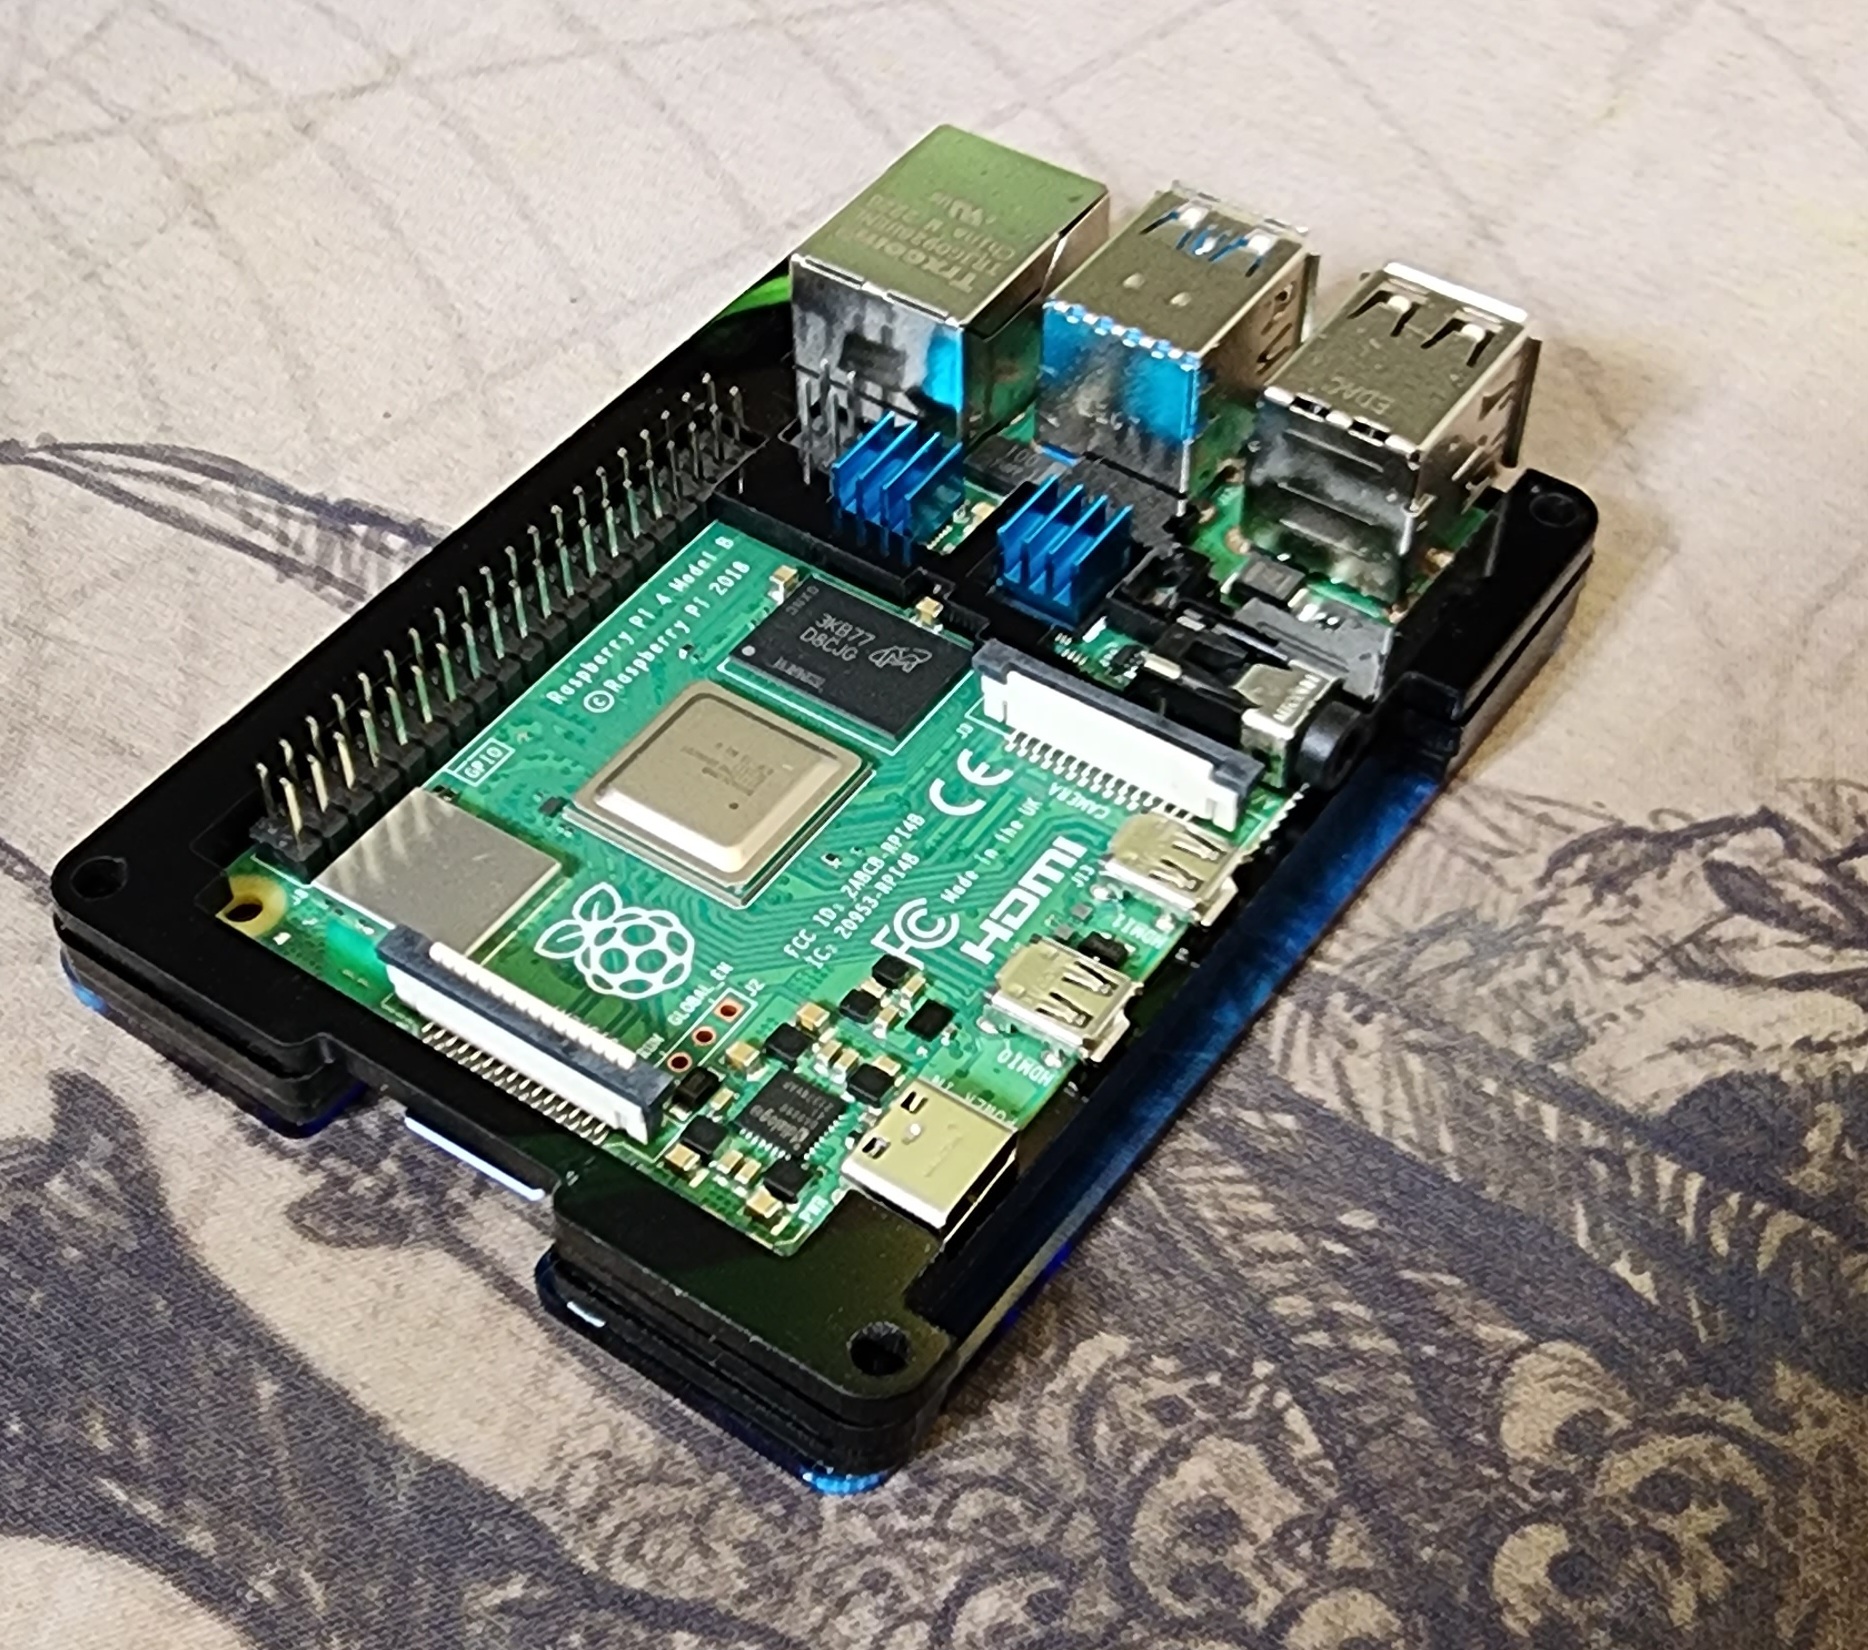
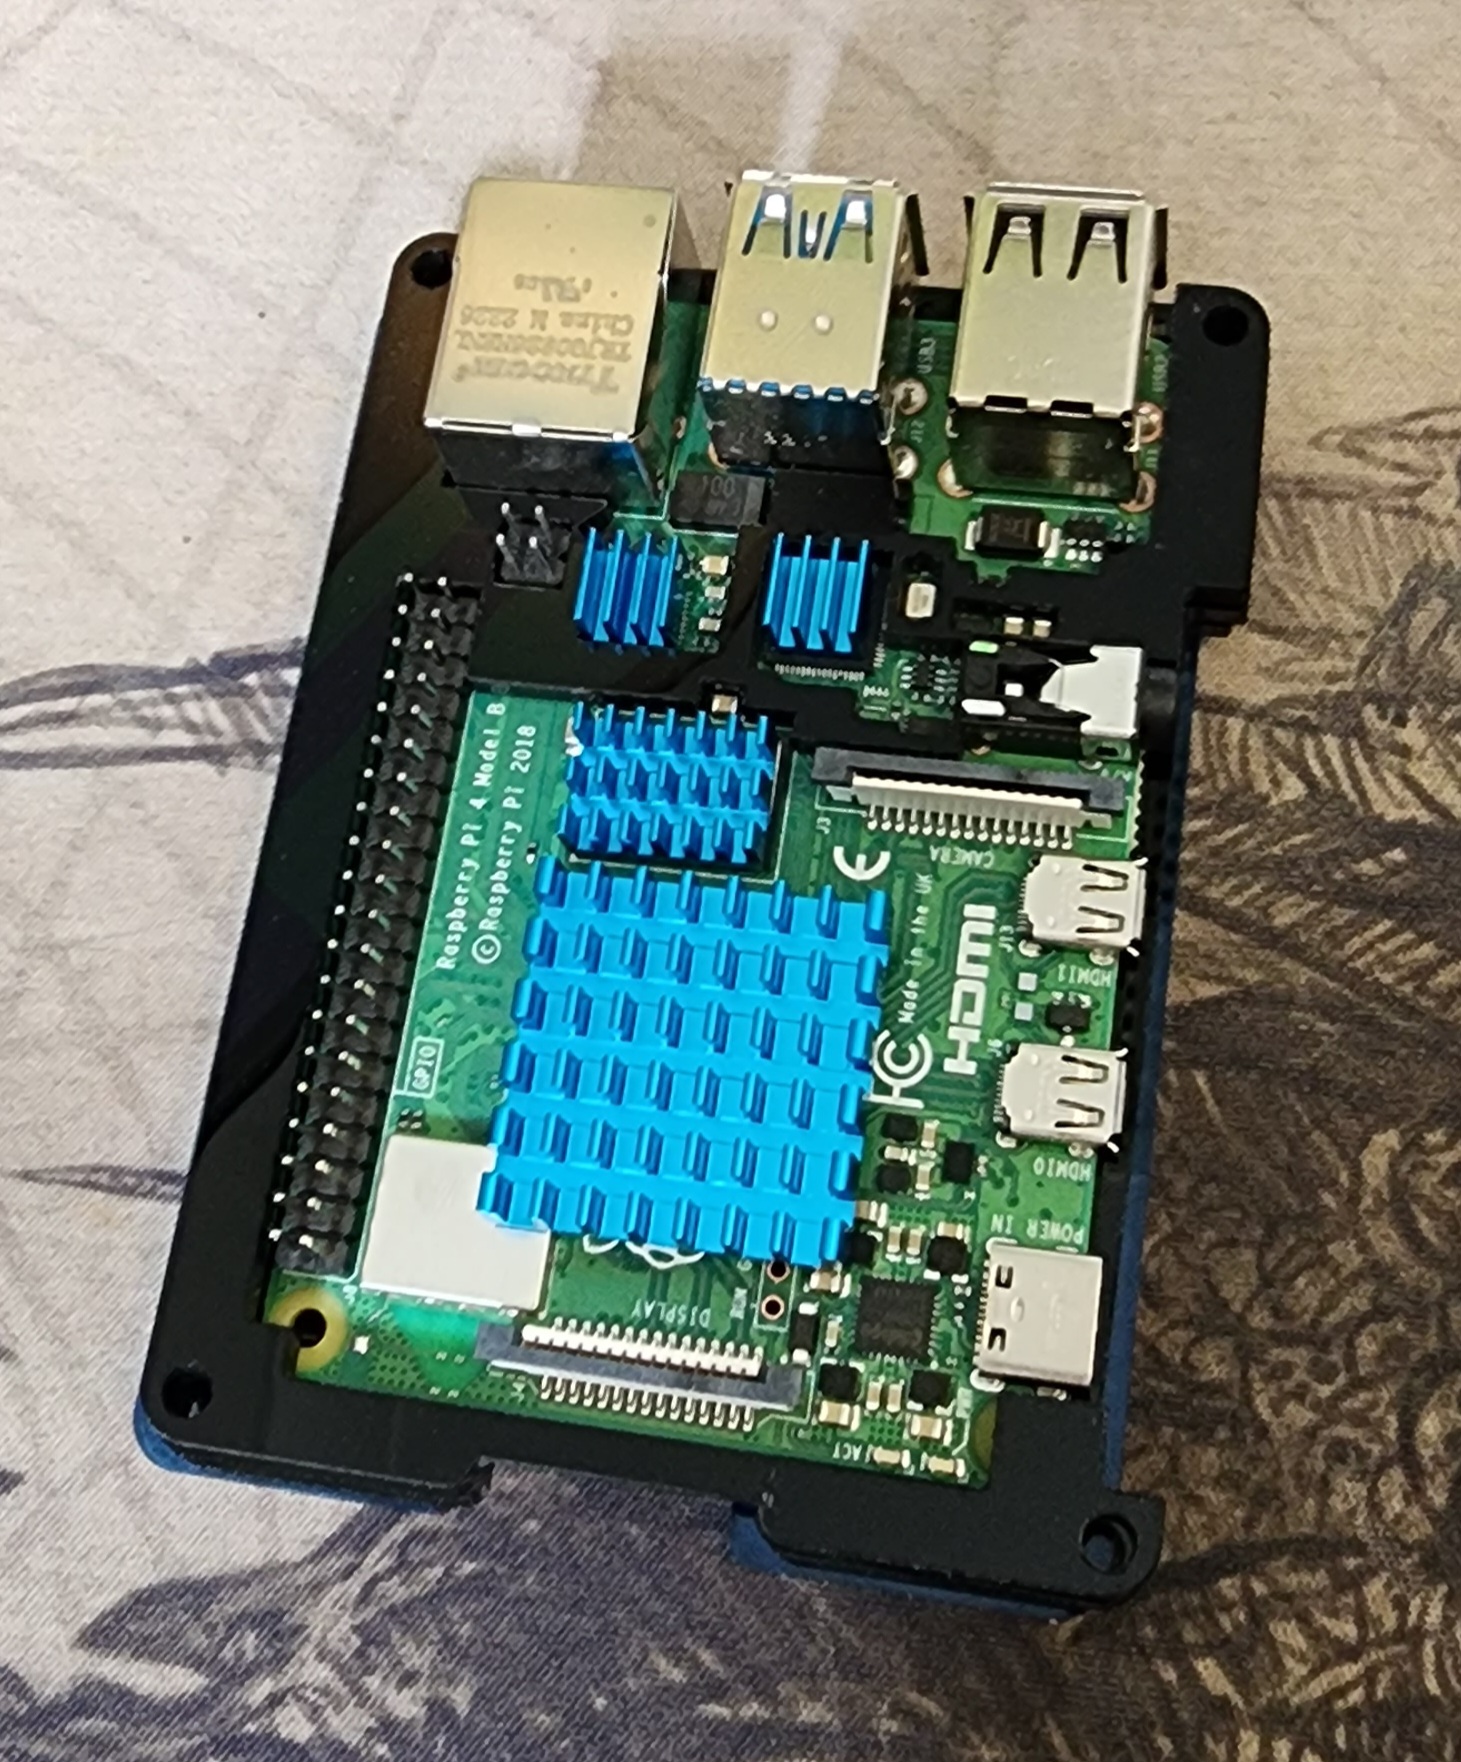
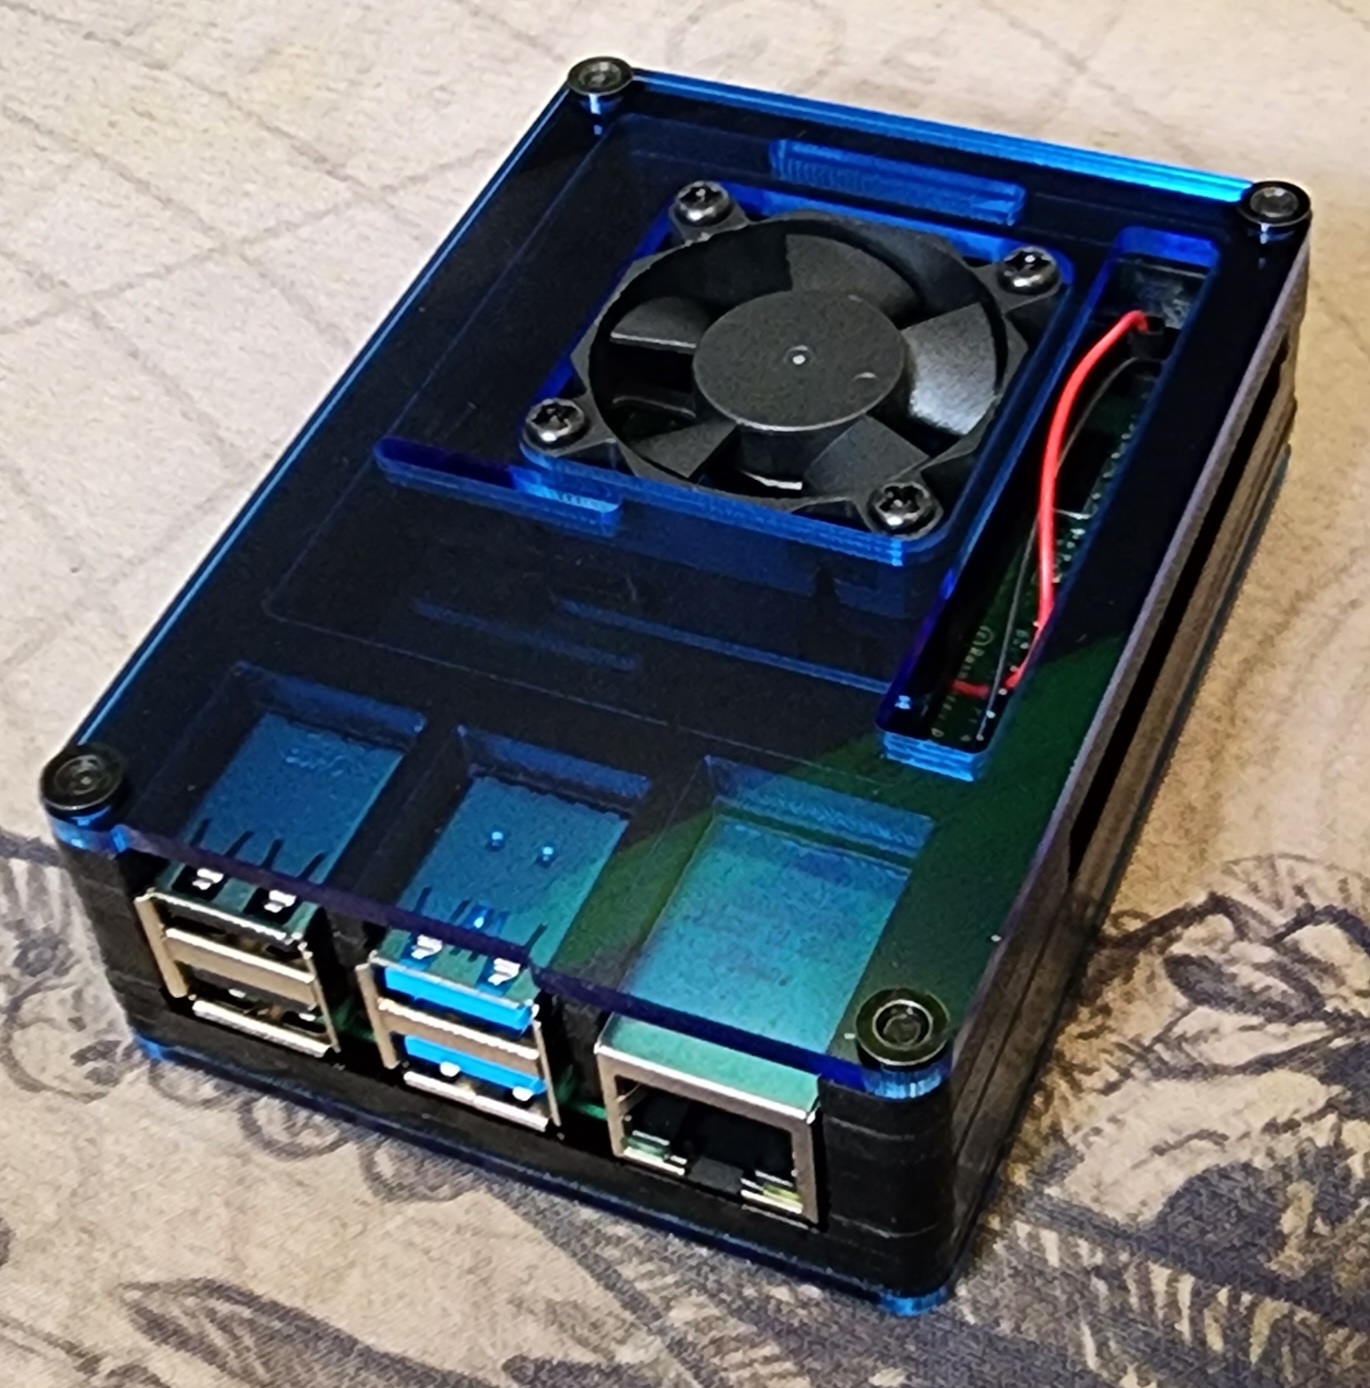
Casing Up The Pi
When I purchased the Pi, I also wanted to envelop it in a protective case. So, I purchased the
'Miuzei Raspberry Pi 4 Model B Case', which contains a fan for keeping the device cool.
Now, Next, Later
I'm going to double-back to the secure copy part of this piece, and find out what may have been
preventing me from copying the files in this manner. After that, I'm going to check out SMTP in a
little bit more depth. I know the basic premise of SMTP, but it would be cool to schedule an email
via Nessus after a scan is complete with the results. This page will be updated when I get around to
those things.
Driver Update (Etherleak)
After a little bit of perusing the internet, I found an Intel support page which had compressed
folders of firmware for all different sorts of wireless adaptors.
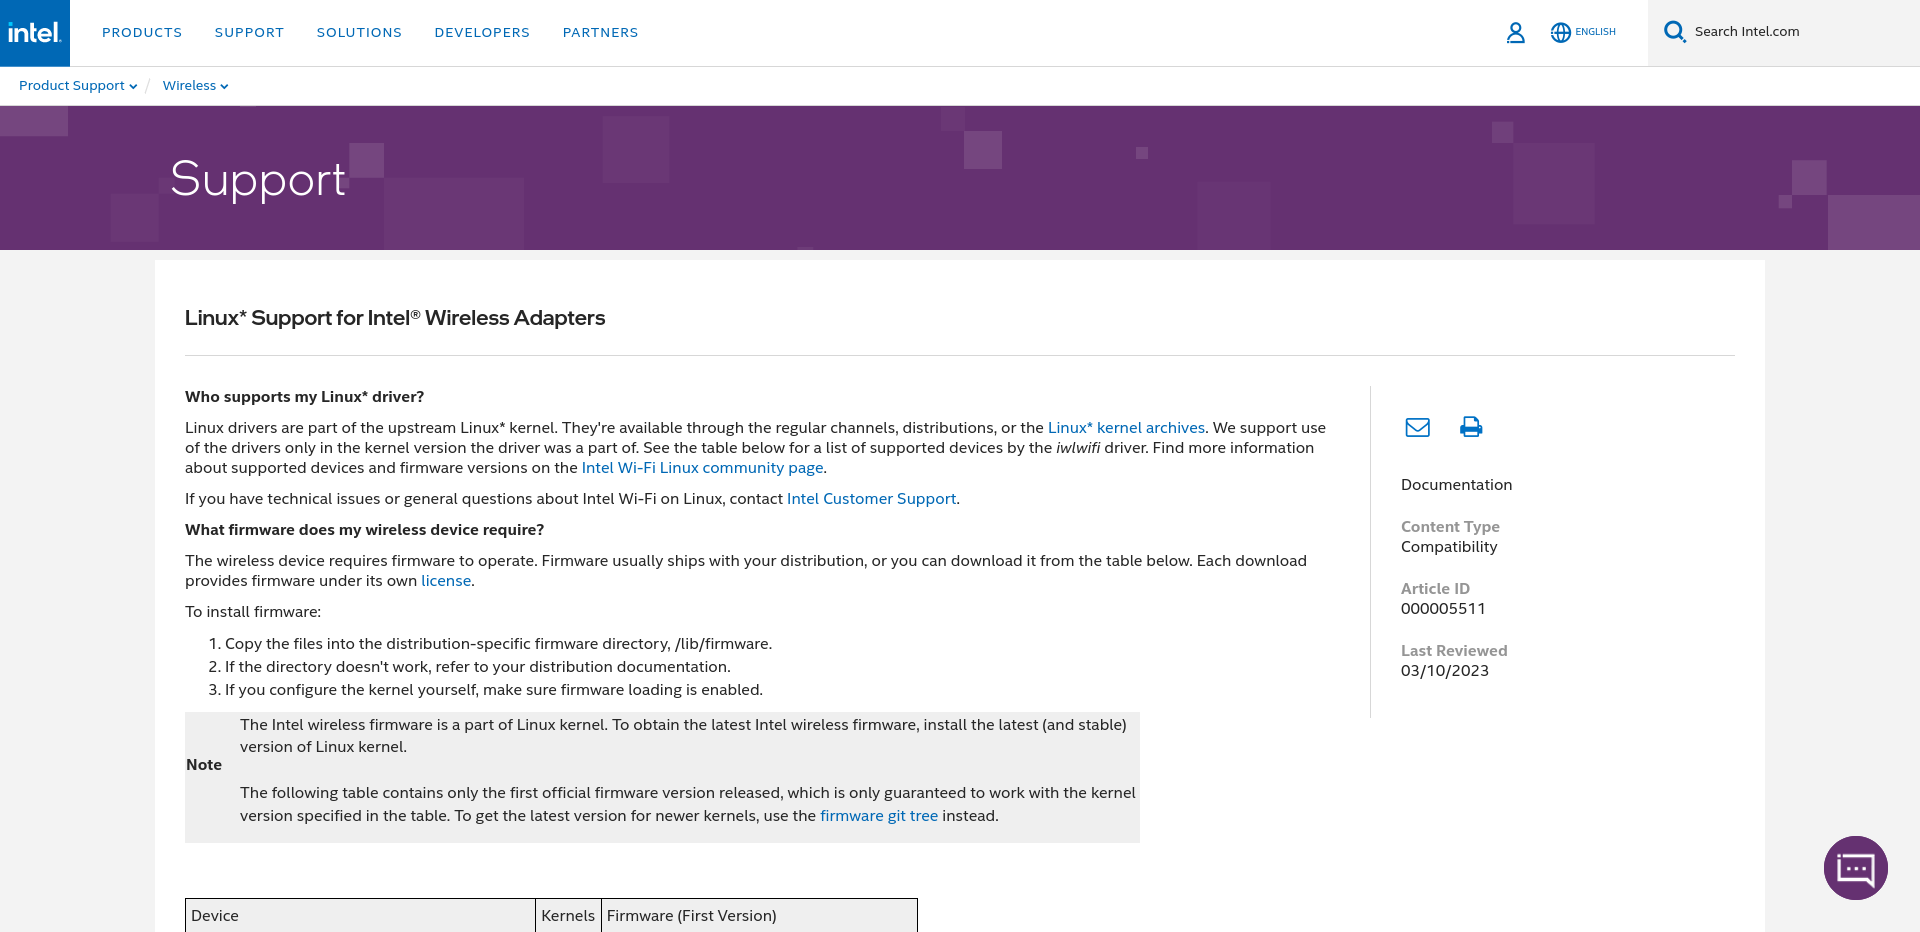
Reading the text here, it seemed like my distribution of Linux may already have the firmware
installed.

Notice the driver and driver modules below my highlighted text; “iwlwifi”. These
drivers on the support page were already installed in my /lib/firmware folder, so I
need not worry about updating the driver.
To conclude this adventure, I'm going to make the assumption that the Nessus scan is a
false-positive. My reasoning for this is that it is an older vulnerability (circa 2003),
and after what I've read throughout a bit of research, it is unlikely to still be vulnerable for the
model listed above. More information can be found here
by IBM and here for the CVE listing